


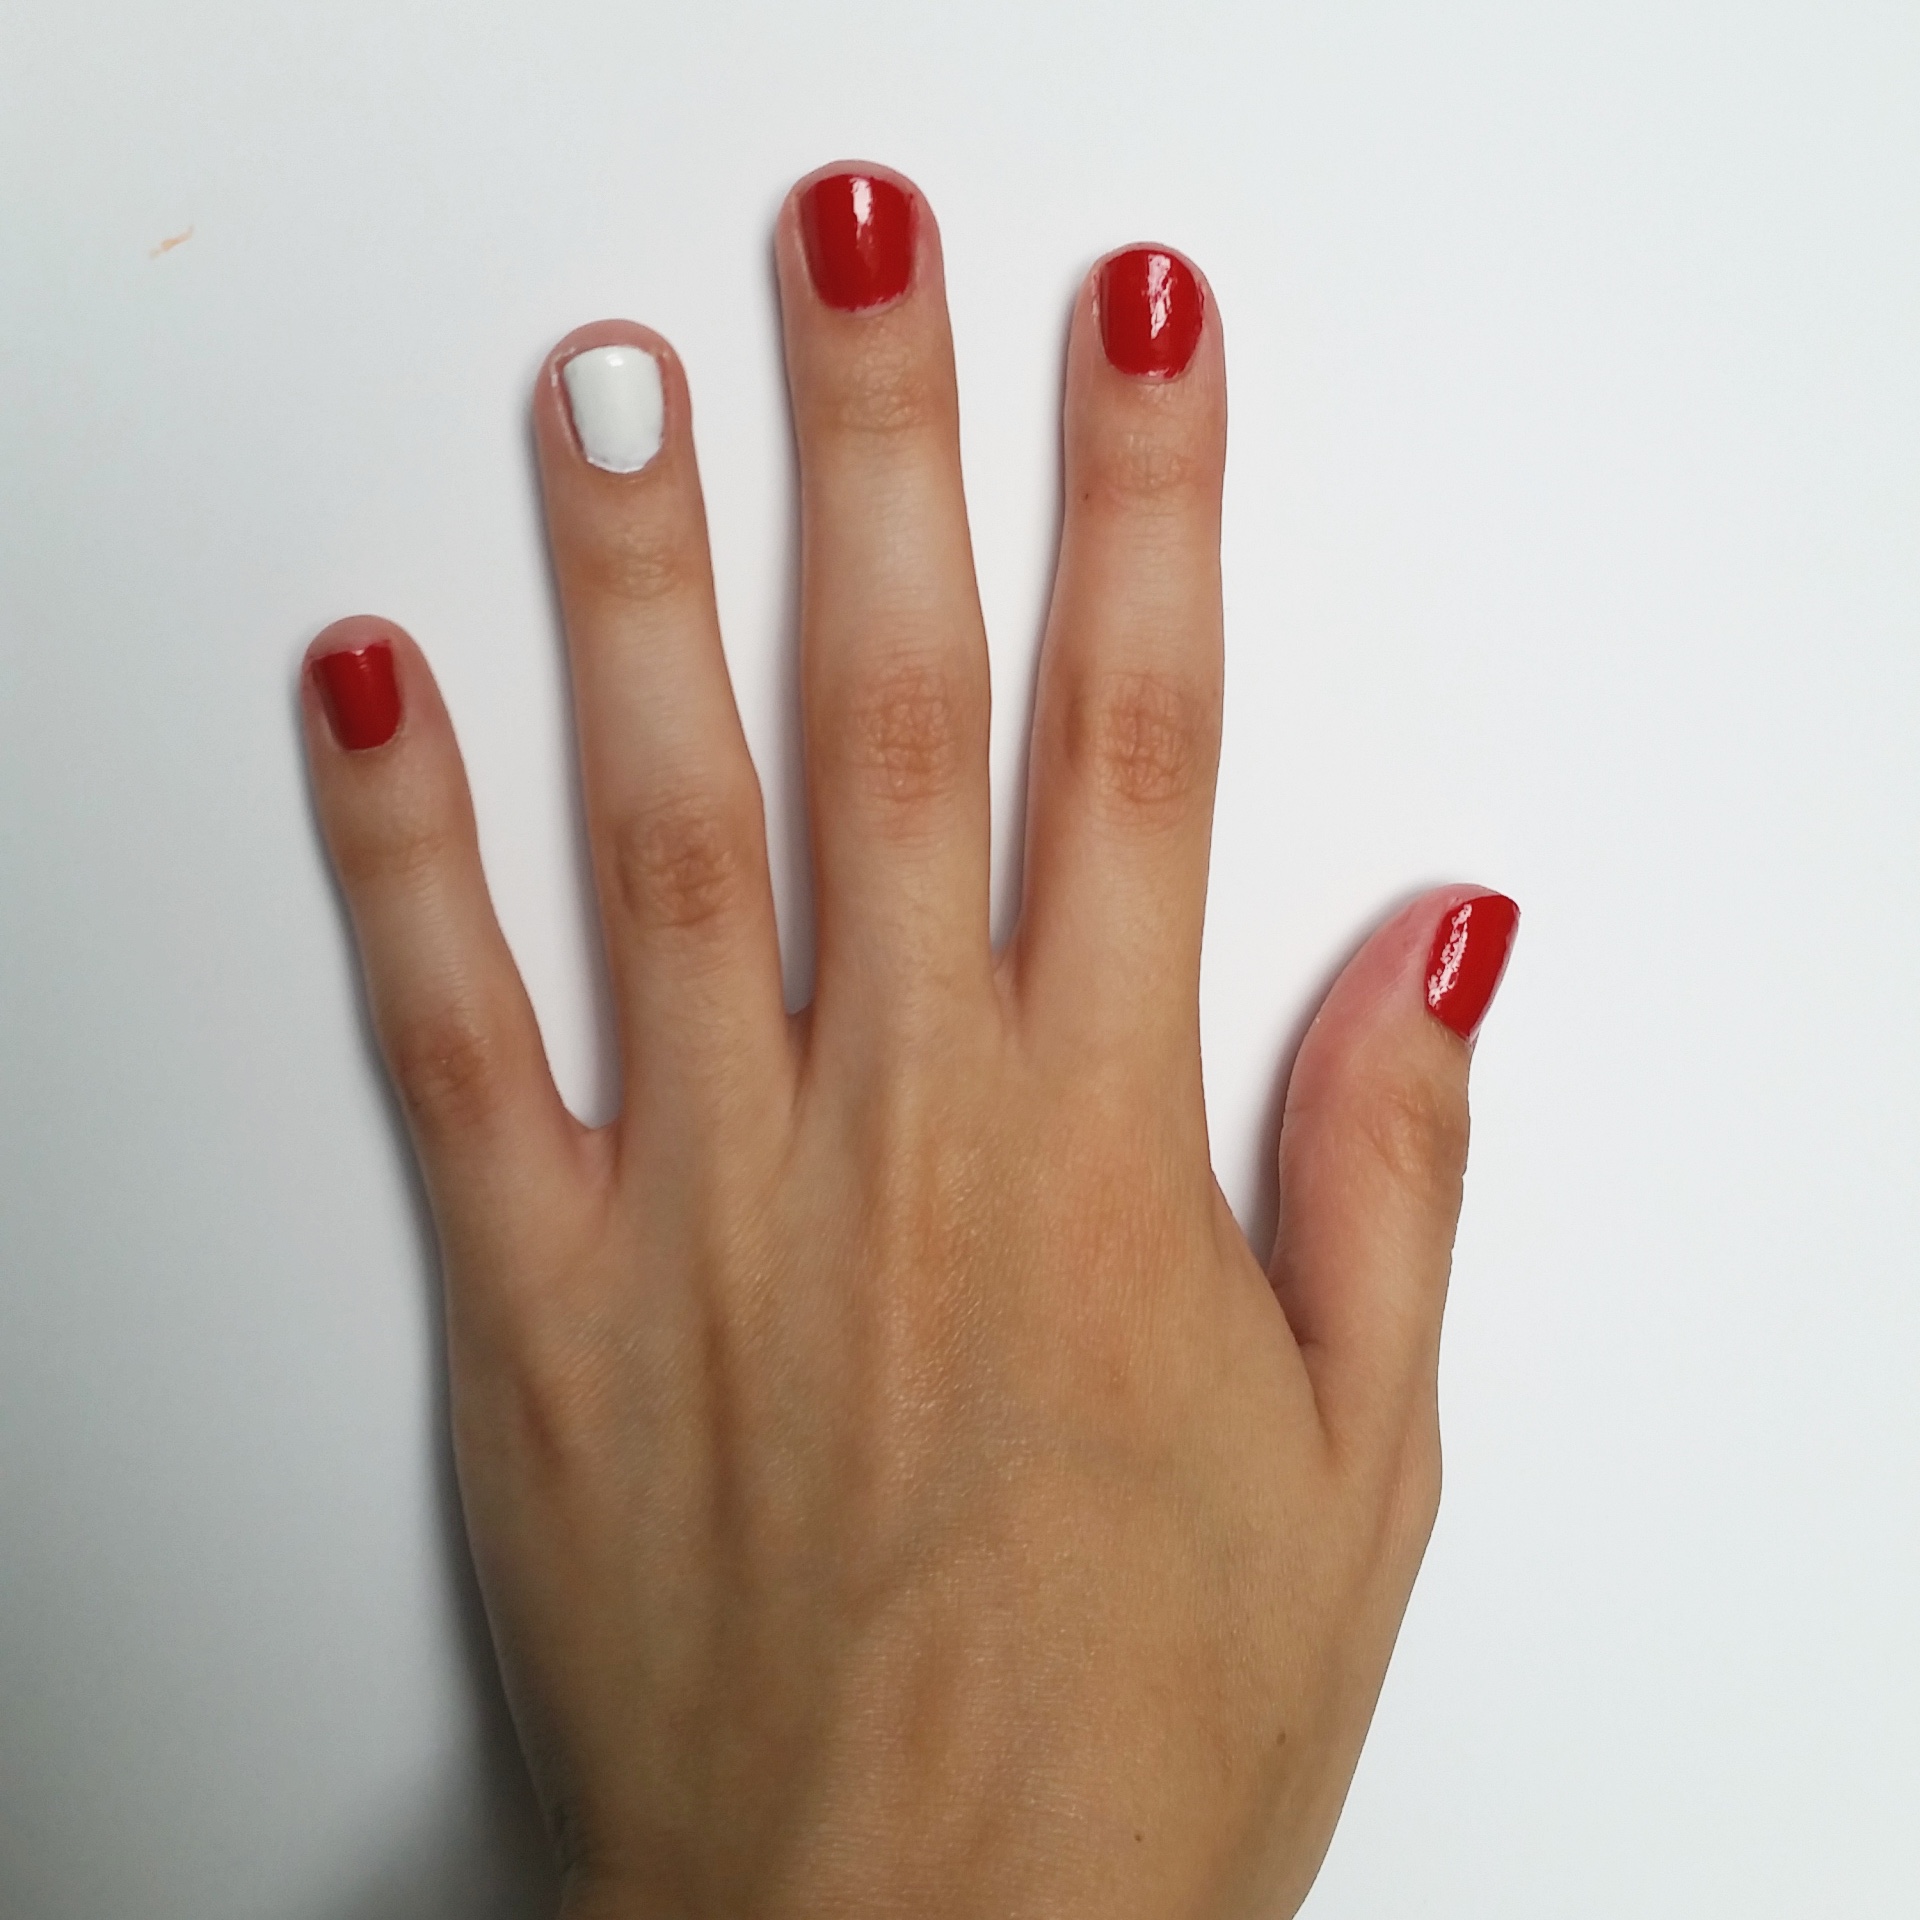
4th of July is right around the corner and one great way to get into the spirit is to paint your nails red, white, and blue.
Now you could alternate colors for a simple (and still great) look or you could take a look at this nail art tutorial for a fairly easy DIY!
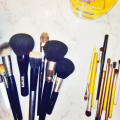
This one is great because there’s just one accent nail so it’s not too flashy. If you have a summer internship or work it won’t get in the way, but there’s just enough spark(le) for a fun, patriotic look. It’s also great because you can customize it to what you have on hand. I had bottles of a really great red and white and a nail striping brush in dark blue, so that’s how I decided what colors to paint where. You just need red, white, blue, and something sparkly!

Start by prepping your nails however you normally do. I cut, file and use cuticle cream before one last swipe of nail polish remover and Essie’s Ridge Filling base coat.
Then paint your first coat. I used Sally Hansen’s Insta-Dri in Rapid Red on four of my fingers and Essie’s Blanc on my ring fingers.
For the fireworks I used the red Sally Hansen from before, Sally Hansen Complete Salon Manicure in Shoot the Moon, and Kiss Nail Art Paint in Pearl Blue. I’ve seen the Kiss nail art kits at CVS for less than $10. They have different color combinations and nail art techniques and are worth a look!
I also bought a tiny brush from Michael’s for about two dollars. Look for words like script or linear or spotter, and make sure there aren’t very many bristles.
Then create a fireworks design on your ring fingers. You could do one in the center, or do two one in opposite corners of the nail. This is time for you to be creative. I started with the blue, then added some red, and finally added a little bit of the silver sparkle.
Just use the brush to create either straight lines in a starburst style, or lines that slightly curve down to resemble fireworks as they start to fall. And remember – it doesn’t have to be perfect!
Make sure to dip the brush in nail polish remover and wipe off the extra polish in between colors.
I then added a tiny bit of glitter nail polish (the kind with the large pieces, mine was from Forever 21) to the very center of the firework.

Clean up the edges with Q-tips dipped in nail polish remover.
Finish off with your favorite top coat (I like Seche Vite Dry Fast Top Coat) and you’re ready to celebrate!
Here are some other fun ideas:
- Use a rhinestone or two in the center of each firework for more bling
- Buy some small star stickers from your local craft store and apply them to your nails – these also work in the center of your fireworks, or use them to create an American flag recreation on your nails
- If you’re a pro with a striping brush or have striping tape you can create the red ad white stripes necessary for an American flag on your nails